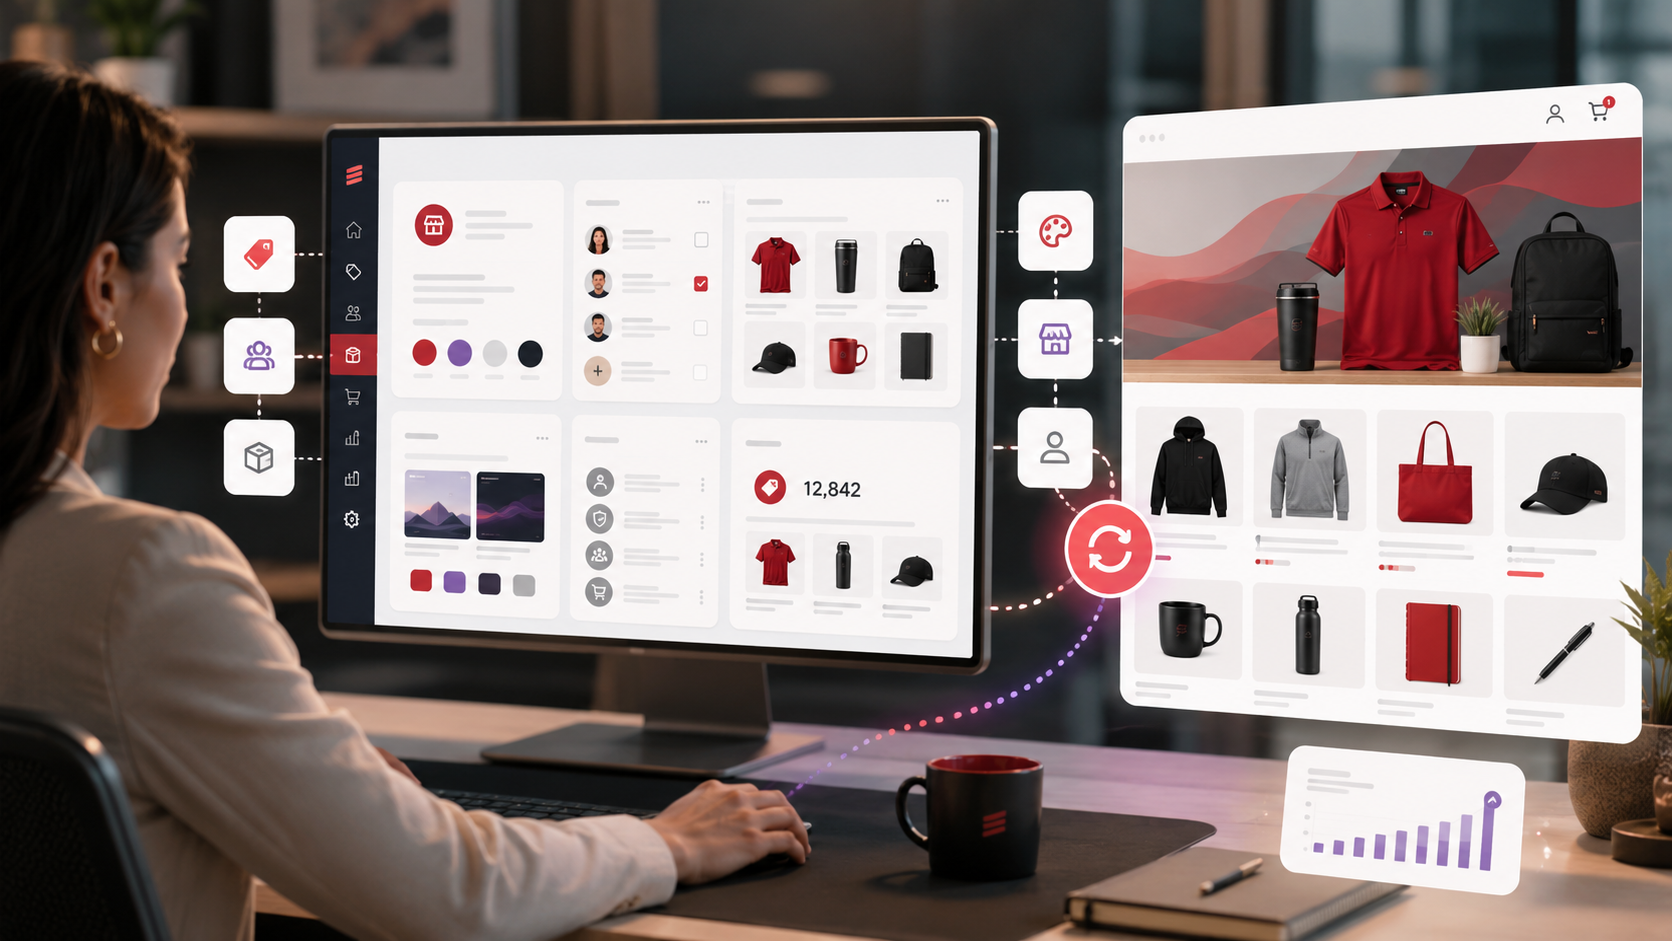
PromoStores let you create and manage connected online company stores, pop-up stores, and program stores from inside Elite Core.
This guide walks through the basic process of creating a PromoStore, understanding the main store tabs, adding products and users, managing storefront settings, and syncing your changes to the live store.
Start here: Sales → PromoStores
In Elite Core, go to:
Sales → PromoStores
In Elite Core, the PromoStores homepage may be found at a URL similar to the following:
http://app.elitecore.ca/instance/{your-instance-name}/sales/promostores
This page is the main PromoStores workspace. Depending on your permissions, you can review stores assigned to you, view other active stores, search for an existing store, switch between available views, or create a new PromoStore.
Step 1: Create the PromoStore
From the PromoStores page, choose the option to create a new store.

During creation, confirm the customer and the type of store you are creating. PromoStores can support several store models, including:
- Company Store – an ongoing branded merchandise store for a customer.
- Pop-Up Store – a temporary store for an event, campaign, team, fundraiser, or limited ordering window.
- Program Store – an ongoing store built around a structured merchandise, uniform, recognition, employee, or other client program.
The store is connected to the selected customer so its products, users, orders, locations, and reporting can remain associated with the correct account inside Elite Core.
Step 2: Open the store workspace
After the PromoStore has been created, open it from the PromoStores list.
The store workspace contains several areas used to manage different parts of the program. The exact options available may depend on your permissions and the store configuration, but the main areas include the store overview, products, design, orders, users, reports, and configuration settings.
Important: Saving a change in Elite Core does not necessarily mean the change is immediately visible on the customer-facing PromoStore. When you make storefront changes, you may need to initiate a sync so the connected WordPress/WooCommerce store receives the updated information.
PromoStore Sync
Understanding the main PromoStore areas
Overview
The Overview area is a useful starting point when reviewing an existing PromoStore. Use it to understand the store, the customer it belongs to, its status, recent activity, and the general configuration of the program.
Before making major changes, confirm you are working in the correct PromoStore and customer account.
Products
The Products area controls the merchandise available through the store.
Depending on the product and store setup, you may manage:
- Product names and descriptions
- Pricing
- Product images
- Additional product resources
- Colours, sizes, and product options
- Decorations and artwork
- Product categories
- Store-specific product information
Categories can help organize larger stores so users can browse merchandise more easily.
After changing customer-facing product information, initiate the appropriate PromoStore sync before assuming the live storefront has been updated.
Design
The Design area is used for the customer-facing appearance and presentation of the PromoStore.
Use this area when reviewing how the store should look and how the storefront experience should be presented to the customer or end user.
When design or storefront configuration is changed in Elite Core, remember to sync those changes to the connected store where required.
Orders
The Orders area lets your team review orders coming back from the PromoStore.
Store order information can include:
- The customer or store user placing the order
- Products and quantities ordered
- Shipping information
- Payment or checkout context
- Purchase order information when required
- Custom checkout responses
- Order status and operational information
This is one of the important differences between PromoStores and a disconnected ecommerce website: storefront orders can be brought back into Elite Core where your team already manages the rest of the customer relationship and operational workflow.
Users
The Users area is used to manage the people who can interact with the store when the program requires individual user accounts.
Depending on the store configuration, user management can help support:
- Employee ordering programs
- Approved store users
- Location-based ordering
- Approved billing or shipping addresses
- Store access and account maintenance
Changes to user information may also need to be synchronized with the connected WordPress store.
Reports
PromoStore reporting provides visibility into store activity without requiring your team to rely only on the customer-facing website.
Use reports to review information such as store orders and product activity. This can help with customer reporting, program reviews, product decisions, and understanding how a store is being used.
Step 3: Configure checkout and store rules
PromoStores can be configured differently depending on the customer’s program.
Available settings can include features such as:
- Credit-card checkout options
- Request-a-quote checkout
- Purchase order requirements
- Custom checkout questions
- Approved shipping addresses or locations
- Billing and shipping address rules
- Shipping configuration
- Tax configuration
- Email notification settings
Not every store should use the same checkout setup. A public pop-up store may behave very differently from a controlled employee program with approved users, locations, and purchase order requirements.
Step 4: Sync changes to the PromoStore
PromoStores use Elite Core as the operational management layer while the customer-facing storefront is connected through WordPress and WooCommerce.
Because of that separation, a change saved in Elite Core may need to be explicitly synchronized before it appears on the live store.
A good working habit is:
- Make the required changes in Elite Core.
- Save the changes.
- Initiate the appropriate PromoStore sync.
- Wait for the sync operation to complete.
- Open or refresh the customer-facing PromoStore.
- Verify that the product, design, user, or setting change appears as expected.
If a change looks correct in Elite Core but is not visible on the PromoStore, check whether the relevant information has been synchronized before troubleshooting the storefront itself.
Important troubleshooting step
Step 5: Test the store before giving it to the customer
Before launching or handing a PromoStore over to a customer, test the customer-facing experience.
At minimum, review:
- Store name and branding
- Product images and descriptions
- Product categories
- Pricing
- Available product options
- Cart behaviour
- Checkout questions
- Payment options
- Shipping options and addresses
- Taxes
- User login or account behaviour when applicable
- Order confirmation
If possible, complete a test order using the same path a real customer or employee will use.
Extra PromoStore features to explore
Once the basic store is running, PromoStores includes additional tools that can support more advanced programs.
- Multiple store types – operate Company Stores, Pop-Up Stores, and Program Stores.
- Product categories – organize larger product selections into customer-friendly groups.
- Product synchronization – manage product information in Elite Core and synchronize it to the connected storefront.
- WordPress and WooCommerce connectivity – combine a customer-facing ecommerce experience with Elite Core operational management.
- Store users – manage users associated with controlled company or employee programs.
- Approved locations and addresses – support programs where orders must ship to approved customer locations.
- Custom checkout questions – collect program-specific information as part of checkout.
- Purchase order checkout – support customer programs that require PO information.
- Flexible payment options – configure available payment and quote workflows based on the store.
- Shipping configuration – control address and shipping behaviour for different programs.
- Tax management – maintain store tax configuration for supported regions.
- Order reporting – review PromoStore order activity from Elite Core.
- Product reporting – understand which products are being ordered through the program.
- Multi-store management – operate PromoStores for multiple customers and programs from one Elite Core environment.
A simple PromoStore workflow
A typical PromoStore setup can follow this sequence:
- Create the PromoStore and attach the correct customer.
- Choose the appropriate store type.
- Configure the store overview and settings.
- Add and organize products.
- Configure design and customer-facing content.
- Add users and locations if the program requires them.
- Configure checkout, payment, shipping, and tax rules.
- Initiate a PromoStore sync.
- Review the live storefront and complete a test order.
- Monitor incoming orders and reporting from Elite Core.
Remember: Elite Core and the storefront work together
Think of Elite Core as the management side of the PromoStore and the connected WordPress/WooCommerce site as the customer-facing side.
Products, users, store configuration, and operational data can move between those systems, but changes must be synchronized when required. Making the change, syncing it, and then verifying it on the storefront is the safest workflow when maintaining a PromoStore.