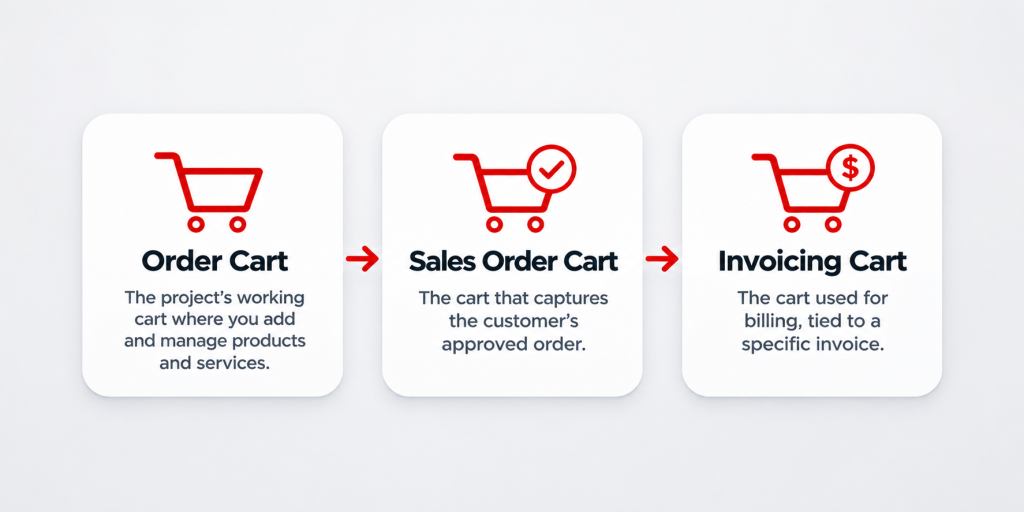

Every promotional products order starts with a relationship. A customer might have one buyer, several artwork approvers, a separate accounting contact and multiple delivery addresses. Keeping that information organized makes quoting, purchasing and fulfillment much easier.
Elite Core brings your leads, customers and their important details into one place. This guide walks through the customer area, what each section does and how you can use it in everyday work.
1. Find your leads and customers
In Elite Core, open Sales → Customers. You will see three useful views:
- My Leads – potential customers assigned to you.
- My Customers – active customers assigned to you.
- All – a broader view of leads and customers, based on your access.
Start with the search bar. Look up the company name or other identifying details before adding a record. This helps avoid creating duplicates that split contacts, projects and history across different accounts.
When you need to add someone new, choose New Lead or New Customer as appropriate. The creation form asks for the business or individual name, main contact email, phone number and assigned user. You can also record contact information. Available actions depend on your role; some users can create leads but not directly create approved customers.
For a step-by-step walkthrough, see How to Create a Customer in Elite Core.
2. Get to know the customer record
Open a customer from the list to see the account in more detail. Think of this as the home for information your team should not need to enter again every time a new project begins.
The record is organized into tabs, including:
- Edit Customer (or Edit Lead) – company details, main contact information, default tax, payment terms and other account settings.
- Contacts – the people who work with or represent that customer.
- Addresses – saved billing and shipping locations.
- Project History (or Quote History for a lead) – work associated with the account.
- Files and History Log – supporting documents and recorded activity.
You may also see Shipping Accounts, Assigned Users or accounting-related tabs, depending on permissions and configuration. You do not need to learn everything at once. For most new users, the customer details, contacts, addresses and history are the best places to start.
3. Keep everyone under the right customer
A company rarely has just one contact. For example, a marketing coordinator might request a quote, a manager might approve artwork and someone in accounts payable might handle the invoice.
Open the Contacts tab to review the people associated with the account. You can update their name, email, phone number, title and other available contact details. Use Add More to add another person, then save your changes.
Tip: A new employee or department usually needs a new contact, not a new customer. Keeping related people together makes it easier to find the correct recipient when preparing documents or following up.
4. Organize billing and shipping addresses
Open the Addresses tab to manage the places connected to a customer. An account can have more than one address, such as a head office, warehouse, branch location or event venue.
Each address has a name and an Address Type. Choose whether the location is used for Billing, Shipping or Both. Enter the street address, city, region, postal code and other relevant location details. Use Add More to include another location.
For example, a customer’s invoices might go to its head office while its branded merchandise is delivered to a warehouse. Elite Core lets you retain both locations under the same account.
Tip: Always confirm the actual delivery address on the individual project. A customer’s usual shipping location is not necessarily the right destination for every order.
5. Follow the customer from enquiry to order
Customer information becomes especially useful when work starts. The project connects the customer with product research, estimates, presentations, Sales Orders and the steps that follow.
You can use the Project History or Quote History tab to revisit earlier activity. This helps when a customer places a repeat order, asks about a previous job or returns after a long break.
Keep account-wide details, such as regular billing instructions, with the customer. Put requirements for a particular order, such as an event date or special delivery destination, on that project.
Read The Complete Guide to an Order: Part 1 for the next steps after customer setup.
6. Understand leads and customer reviews
A Lead is an account that has not yet moved into the normal approved customer workflow. When you’re ready to proceed, an authorized user can use Convert to Customer to request the change.
Depending on the company’s setup, the request may need a Customer Review. While a review is pending, the status makes that clear, and some actions may remain unavailable. In particular, Elite Core checks customer readiness before generating supplier Purchase Orders. A lead or account waiting for required customer approval may need that process completed first.
This is an operational safeguard, not another form you need to complete for every contact or address change.
What about payment terms?
Payment terms affect when and how customers are expected to pay. Elite Core can use Customer Terms Review to route certain requested changes to the right person for approval. Customer Review and Terms Review are separate, and the rules depend on how your administrators configure the system.
For managers, Operations Management in Settings controls reviewer assignments, notifications and approval permissions. It also has settings for routing website enquiry notifications and assigning new website leads when that intake is configured.
If you’re a sales user, the practical rule is simple: it is vital to check the account status and follow the review request shown in Elite Core to ensure that an account or payment-term change has already been approved.
See How Operations Management Works in Elite Core for the administrator-side details.
7. What is the Customer Page tab?
The Customer Page tab is different from the internal customer record. It is where authorized users can configure a customer-facing profile and invite specific customer contacts to access it.
The current interface offers a private customer page, a URL to copy or preview, and invitation options for contacts. Public and unlisted visibility options are shown as coming soon. If your organization is not using customer access yet, you can continue managing customers and projects normally without setting up a Customer Page.
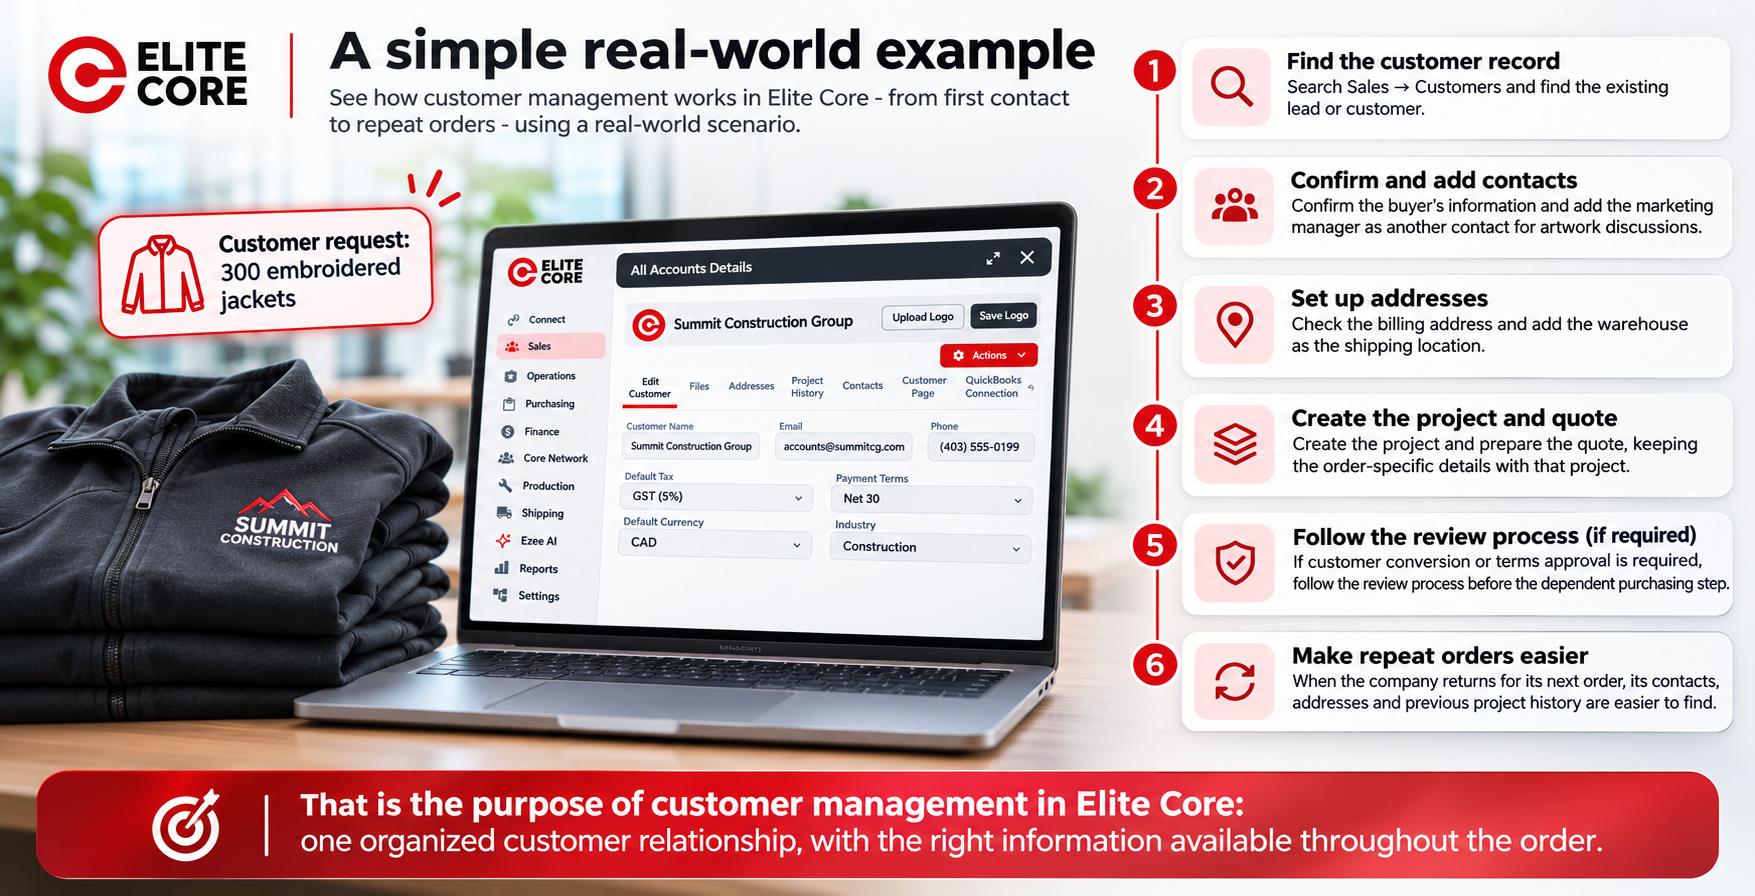
8. A simple real-world example
Imagine a company contacts you about 300 embroidered jackets.
- You search Sales → Customers and find its existing lead or customer record.
- You confirm the buyer’s information and add the marketing manager as another contact for artwork discussions.
- You check the billing address and add the warehouse as the shipping location.
- You create the project and prepare the quote, keeping the order-specific details with that project.
- If customer conversion or terms approval is required, you follow the review process before the dependent purchasing step.
- When the company returns for its next order, its contacts, addresses and previous project history are easier to find.
That is the purpose of customer management in Elite Core: one organized customer relationship, with the right information available throughout the order.
Before you move on
A quick customer check can prevent problems later. Make sure you’re working with the right account, the contacts are current, the billing and shipping addresses are correct, the internal account owner is assigned, and any required customer or terms reviews are complete.
Have years of customer data in another system? Read how Elite Core supports importing customer information. To understand how the customer record connects to sales, purchasing and finance, explore Promotional Products ERP Software.
Questions about how your business would manage customers in Elite Core? Let’s talk.